Microscope Use in Koi Keeping: When & How to Scrape Your Koi
- Tri-Star Koi
- Aug 22, 2025
- 3 min read

By Tri-Star Koi
One of the most valuable tools in a koi keeper’s health toolkit isn’t a medication—it's a microscope. If you want to take your koi care to the next level, learning how to perform a skin scrape and scope can save you time, money, and, most importantly, your fish.
At Tri-Star Koi, we rely on the microscope to identify exactly what we’re treating before we ever reach for medications. Guesswork can lead to wasted treatments—or worse, harm to your koi. Knowing what you're dealing with allows for targeted, effective care.
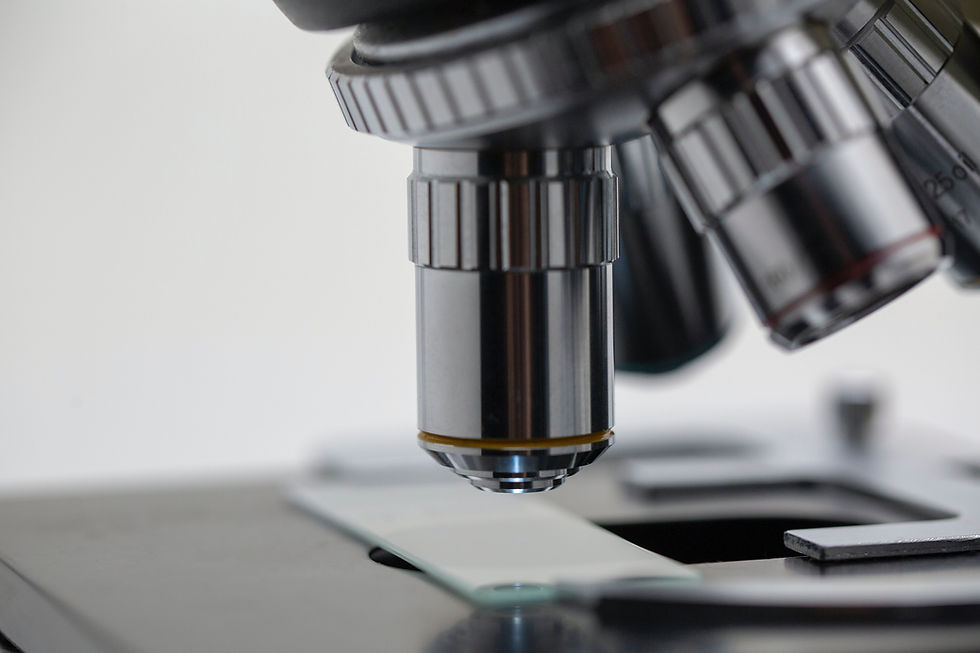
Why Use a Microscope for Koi Health?
Parasites are a common cause of koi health issues, and many of them are microscopic—you won’t see them with the naked eye. A microscope allows you to:
Accurately identify parasites like flukes, costia, trichodina, and chilodonella
Avoid overmedicating or using the wrong treatments
Catch problems early, before they become dangerous or deadly
Understand patterns in your pond and prevent outbreaks
Think of it this way: You wouldn't take random medicine without knowing your diagnosis—why do that with your pond?
When to Perform a Skin Scrape
You don’t need to scrape every time something seems a little off, but here are clear signs that it’s time to scope:
Koi are flashing (rubbing against pond walls or floor)
Excessive jumping or darting
Clamped fins or sluggish behavior
Isolated fish, not schooling as usual
Mucus buildup, cloudy skin, or rapid breathing
After introducing new koi (even after quarantine, double-checking can be smart)
Following unexplained deaths
Scraping should be a routine part of any quarantine process and an early step in diagnosing unusual behavior or signs of stress.
How to Perform a Scrape & Scope (Step-by-Step)
What You’ll Need:
A good-quality microscope (400x magnification is ideal)
Glass slides and cover slips
A plastic microscope slide box or tray
A soft net and bowl for handling koi
Gloves and sedation (optional but recommended)
A clean surface for working
Step 1: Safely Catch the Koi
Use a soft net to gently catch the koi and transfer it to a bowl. If the fish is overly stressed or large, sedation (using clove oil or a koi-safe sedative) can make the process easier and safer—for both you and the fish.
Step 2: Scrape Mucus Sample
Using the edge of a glass slide, gently scrape along the fish’s side, gill cover, or under the pectoral fin—these areas tend to collect parasites. Don’t dig into the skin—just gather mucus.
Step 3: Prepare the Slide
Place the mucus sample on a glass slide, add a cover slip, and make sure there are no air bubbles. You want a thin, even layer.
Step 4: Use the Microscope
Start at a low magnification (100x) and slowly increase to 400x. Look for movement—parasites like costia or trichodina will be active. Some, like flukes, are larger and may be seen at lower power.
Step 5: Identify the Parasites
Take note of what you see. You can compare findings with parasite ID charts (many are available online) or consult a dealer or vet experienced in koi health. Each parasite requires a specific treatment.
Tips for Success
Always scrape more than one fish, especially if multiple are showing symptoms.
Don’t treat blindly—even if you're "pretty sure" it’s flukes, confirm it.
Clean your tools after every scrape to prevent spreading pathogens.
Practice makes perfect—your first few scopes may take longer, but you'll get better and faster over time.
Using a microscope may seem intimidating at first, but it’s one of the most empowering skills you can learn as a koi keeper. It puts control back in your hands, allows you to treat with precision, and protects your koi from unnecessary stress or medication.
At Tri-Star Koi, we use a scrape and scope approach with every new shipment, and anytime something seems off. We also test our fish every week to ensure they are parasite free once they go to our customers. It’s a simple habit that leads to healthier fish, better outcomes, and peace of mind.
— Marlon @ Tri-Star Koi